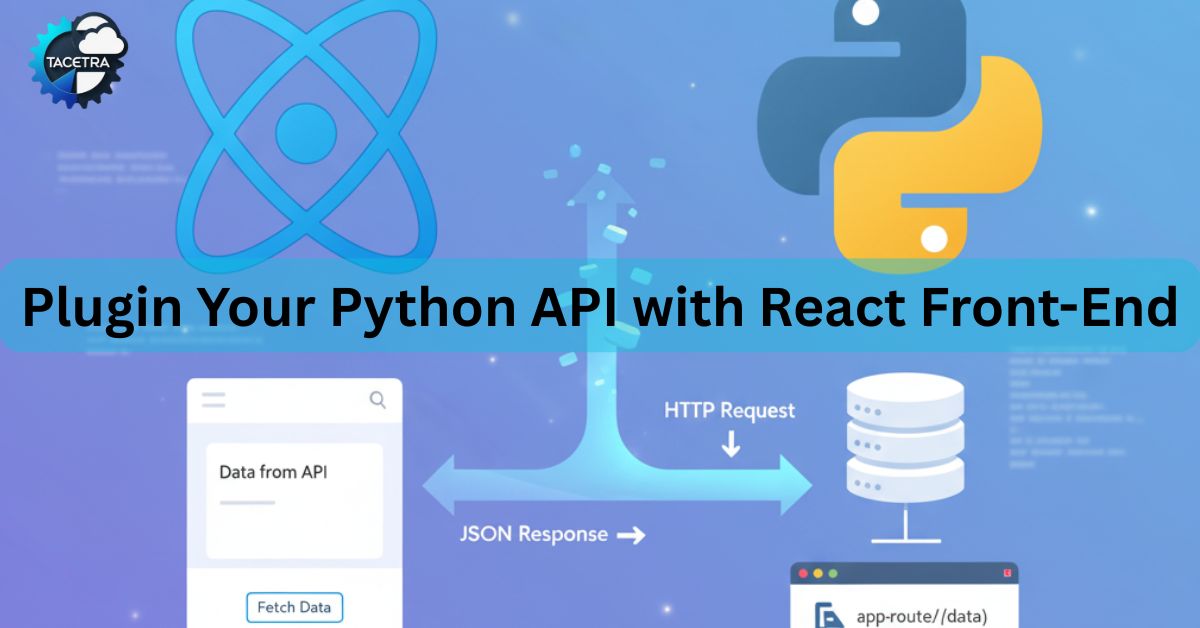
In a previous blog, we learned how to create a simple API in Python using Flask. An API is great, but for most users, it feels invisible — they don’t want to copy JSON in Postman, they want a website they can see and click!
In this tutorial, we’ll build a basic React frontend that talks to our Python API. Don’t worry if you’re new to React or coding — we’ll go step by step with simple explanations.
By the end, you’ll:
- Run your Python API (from the earlier blog)
- Create a simple React app
- Fetch data from your Python API and display it in the browser
- Add a form to send data to the API
Prerequisites
- Python API from this tutorial running on your computer (Flask, GET/POST routes ready)
- Node.js and npm installed (for running React)
- Basic knowledge of the terminal/command line
Step 1: Make sure your Python API is running
From your earlier tutorial, you should have a file app.py. Make sure the API is up and running:
python app.pyIt should be available at http://127.0.0.1:5000/messages.
Step2: Install Node.js and npm
For the purpose of this blog, I’m assuming you have basic knowledge of IDE’s and how to navigate a project structure. One of the simple IDE to use is Microsoft Visual Studio Code that is free of cost to developers.
Now, React runs on Node.js. If you don’t have it yet:
- Go to https://nodejs.org/
- Download the LTS (Recommended) version for your operating system
- Install it using the setup wizard (keep default options checked)
To verify installation, open your IDE terminal and run:
node -v
npm -v
You should see version numbers (for example, node v18.17.0 and npm 9.6.7).
Basic Understanding of the Command Line
In this tutorial, you’ll use commands like cd, npm start, and python app.py. If you don’t know what these means, don’t worry — we’ll explain what each one does!
Step 2: Create a new React project
Now that Node.js and npm are ready, install React using this command:
npx create-react-app my-frontend
npxcomes with npm — it lets you run commands directly from the npm registry without installing them globally.
Then, move into your new folder and start the development server:
cd my-frontend
npm start
This launches the React development environment at – http://localhost:3000
You’ll see a default React page — we’ll replace it soon with our own code that talks to your Python API.
Step 3: Fetch data from the Python API
In your react code folder, open src/App.js and replace its content with this code:
import React, { useEffect, useState } from "react";

function App() {
  // State to store messages from the API
  const [messages, setMessages] = useState([]);

  // State to store input from the user
  const [newMessage, setNewMessage] = useState("");

  // Fetch messages from API when the app loads
  useEffect(() => {
    fetch("http://127.0.0.1:5000/messages") // API endpoint
      .then((response) => response.json()) // convert response to JSON
      .then((data) => setMessages(data))   // store data in state
      .catch((error) => console.error("Error fetching data:", error));
  }, []);

  // Function to handle new message submission
  const handleSubmit = (e) => {
    e.preventDefault(); // prevent page refresh

    // Send POST request to API
    fetch("http://127.0.0.1:5000/messages", {
      method: "POST",
      headers: {
        "Content-Type": "application/json", // tell server we're sending JSON
      },
      body: JSON.stringify({ message: newMessage }), // send the message
    })
      .then((response) => response.json())
      .then((data) => {
        setMessages(data.messages); // update messages with new list
        setNewMessage(""); // clear the input box
      })
      .catch((error) => console.error("Error posting data:", error));
  };

  return (
    <div style={{ padding: "20px", fontFamily: "Arial" }}>
      <h1>React + Python API</h1>
      <h2>Messages from Python API:</h2>

      {/* Display messages */}
      <ul>
        {messages.map((msg, index) => (
          <li key={index}>{msg}</li>
        ))}
      </ul>

      {/* Form to add new message */}
      <form onSubmit={handleSubmit}>
        <input
          type="text"
          placeholder="Type a message..."
          value={newMessage}
          onChange={(e) => setNewMessage(e.target.value)}
          style={{ padding: "5px", marginRight: "10px" }}
        />
        <button type="submit">Send</button>
      </form>
    </div>
  );
}

export default App;
Step 4: Run both servers together
- Run your Python API:
python app.py(default athttp://127.0.0.1:5000) - Run your React app:
npm start(default athttp://localhost:3000)
Now open your browser at http://localhost:3000 and you’ll see:
- A list of messages fetched from your Python API
- An input box to add a new message
- Messages update live when you submit
Step 5: Fixing CORS issues (if needed)
Sometimes you’ll get a CORS error (Cross-Origin Resource Sharing) because React (port 3000) is calling Flask (port 5000). To fix this, install Flask-CORS:
pip install flask-corsUpdate app.py:
from flask_cors import CORS

app = Flask(__name__)
CORS(app)  # allow requests from React app
Conclusion
Congratulations! You just built a full stack app with React using a Python Flask API on the backend and a React frontend that consumes it. Even though this project is basic, you’ve covered some of the most important concepts in modern web development: connecting a frontend and backend, handling API requests, and displaying dynamic data to users.
With this foundation, you can now experiment with more advanced features like authentication, connecting to a real database, or even deploying both apps online. Every large-scale app starts with these same building blocks, so take pride in what you’ve accomplished — you now understand how data moves from server to browser, and that’s a big step toward becoming a full-stack developer.
Further Reading: The Software Engineer’s Dilemma: High Pay, High Stress, and the Road to FIRE
Discover more from TACETRA
Subscribe to get the latest posts sent to your email.